
Create a group
Create a group
Groups on NewRich allow creators to build communities, share exclusive content, offer memberships, and engage with their audience in one dedicated space.
Creating a group is a guided process consisting of three steps:
- General Info
- Pricing
- Advanced Settings
Where to Start
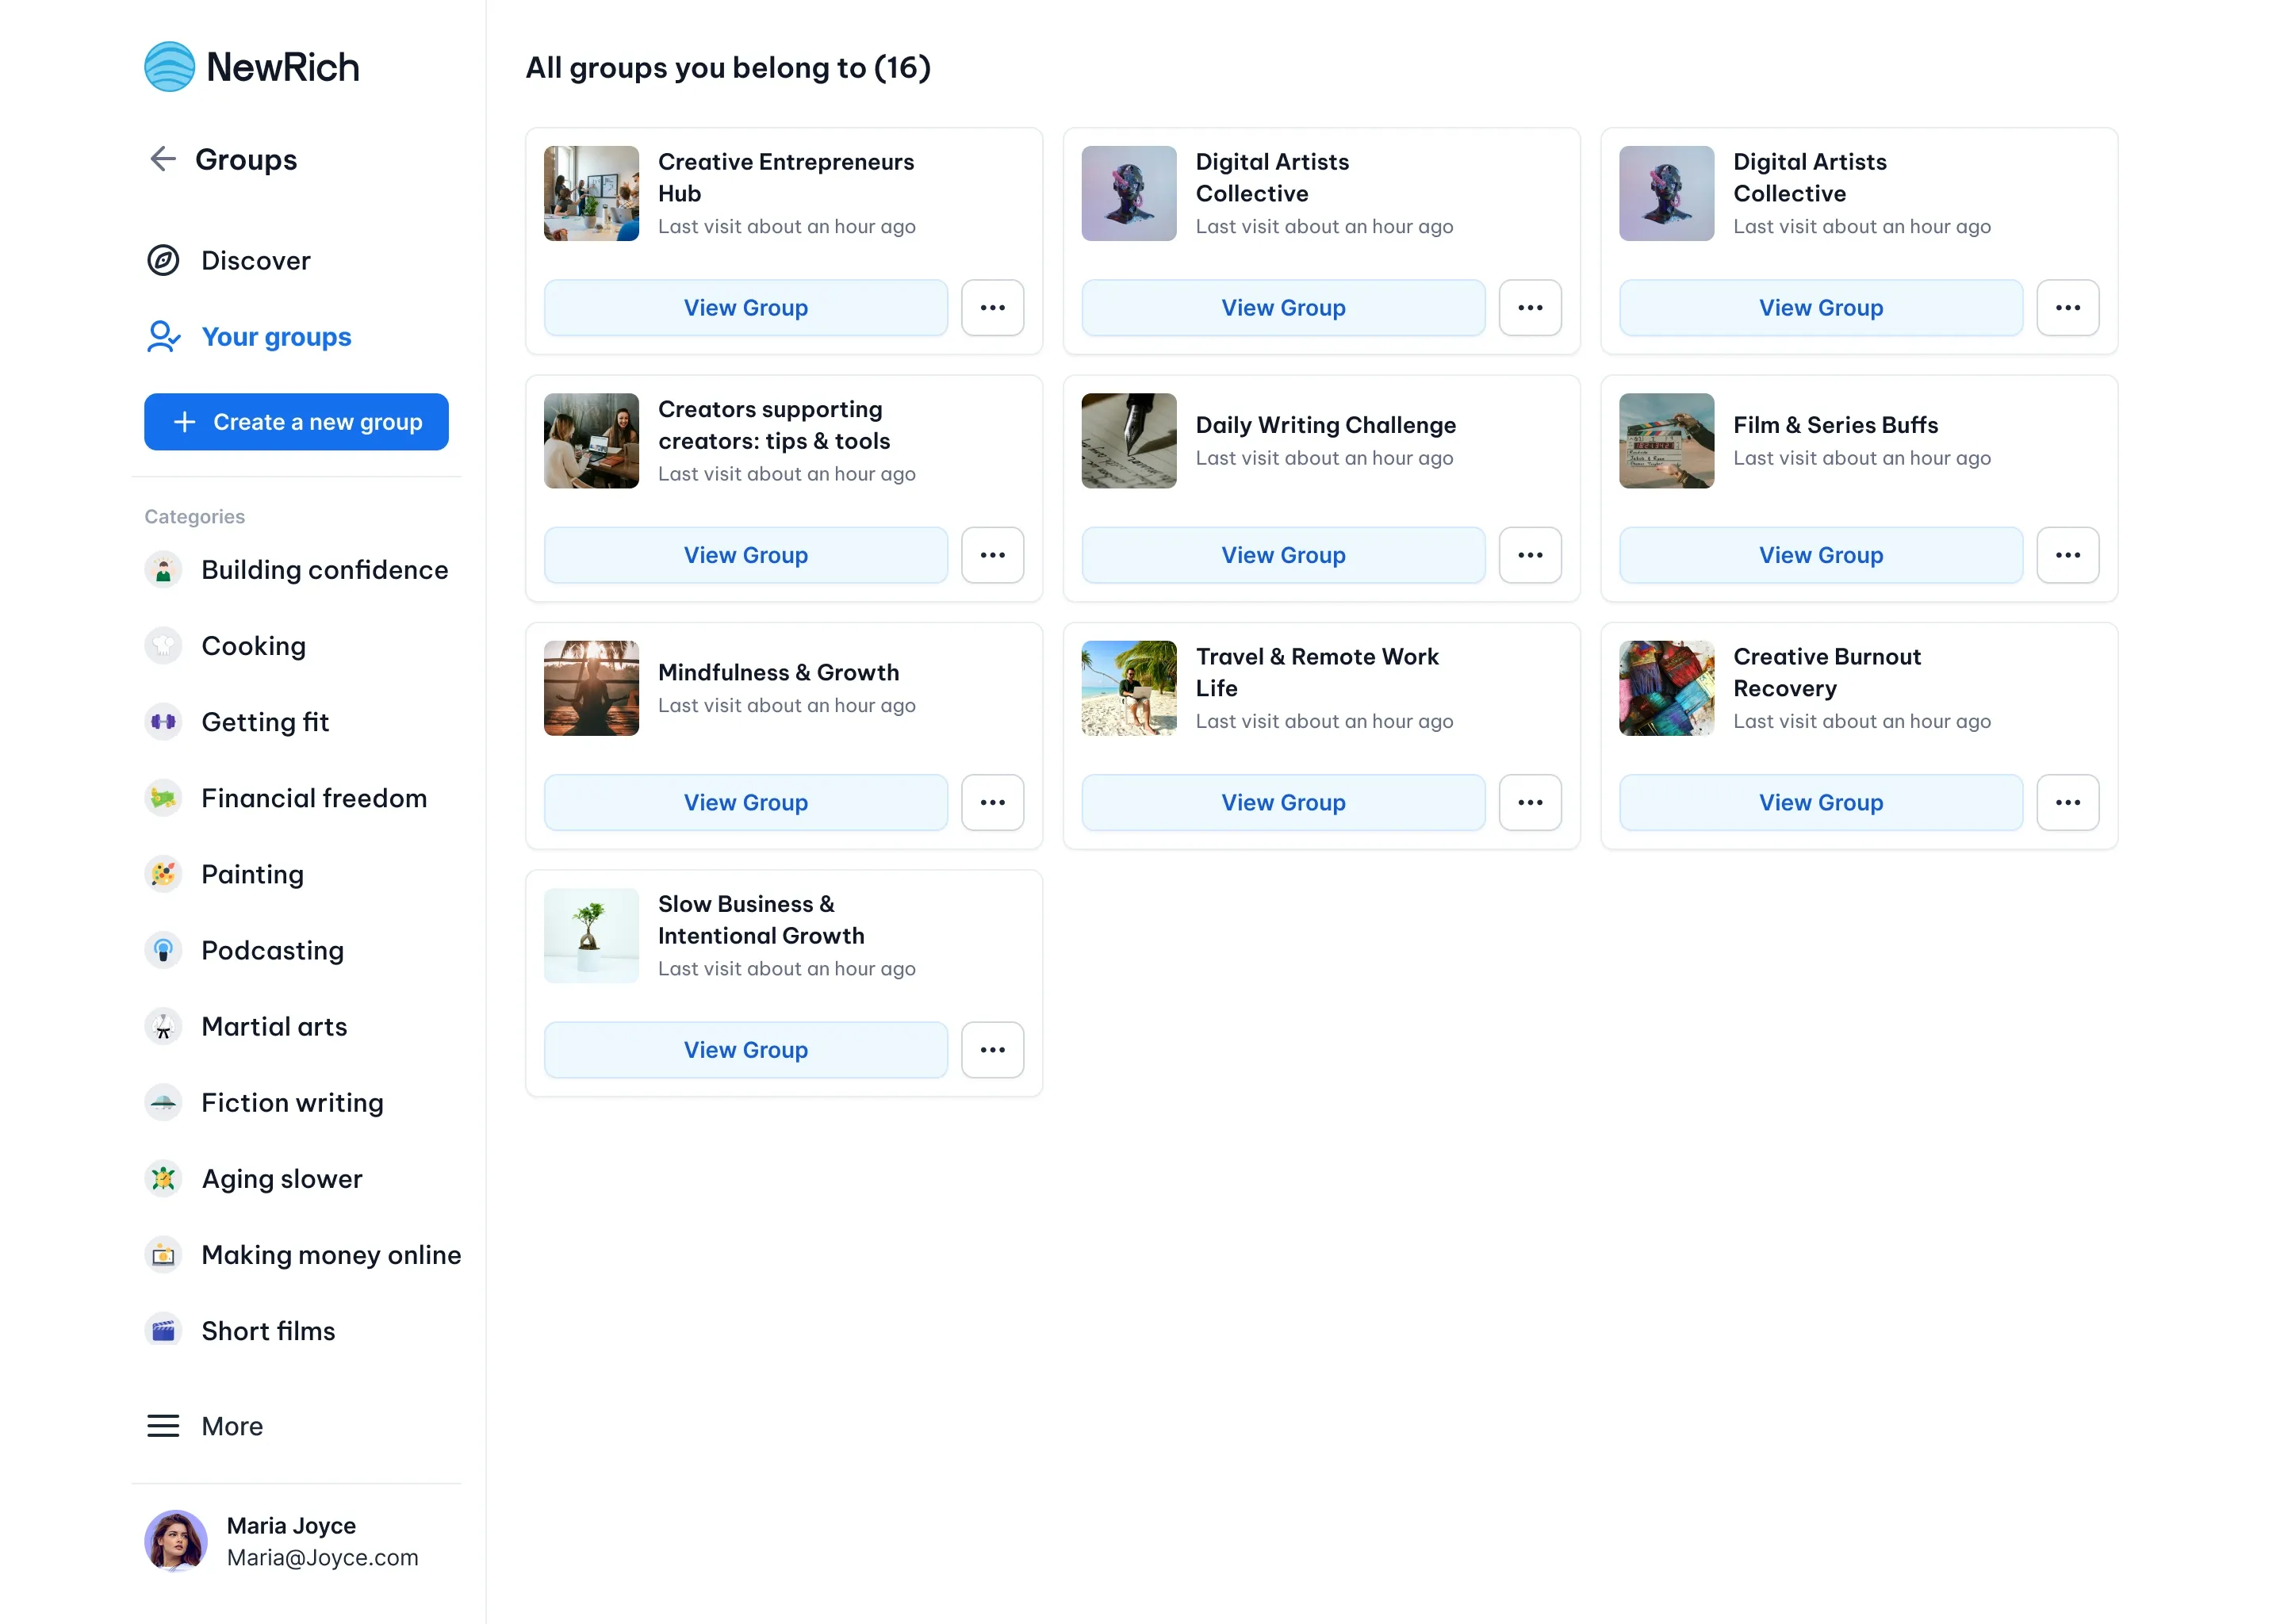
Create a new group directly from the Groups tab.
- Open Groups from the left sidebar.
- Click Create a new group.
- The Group Creation flow will open.
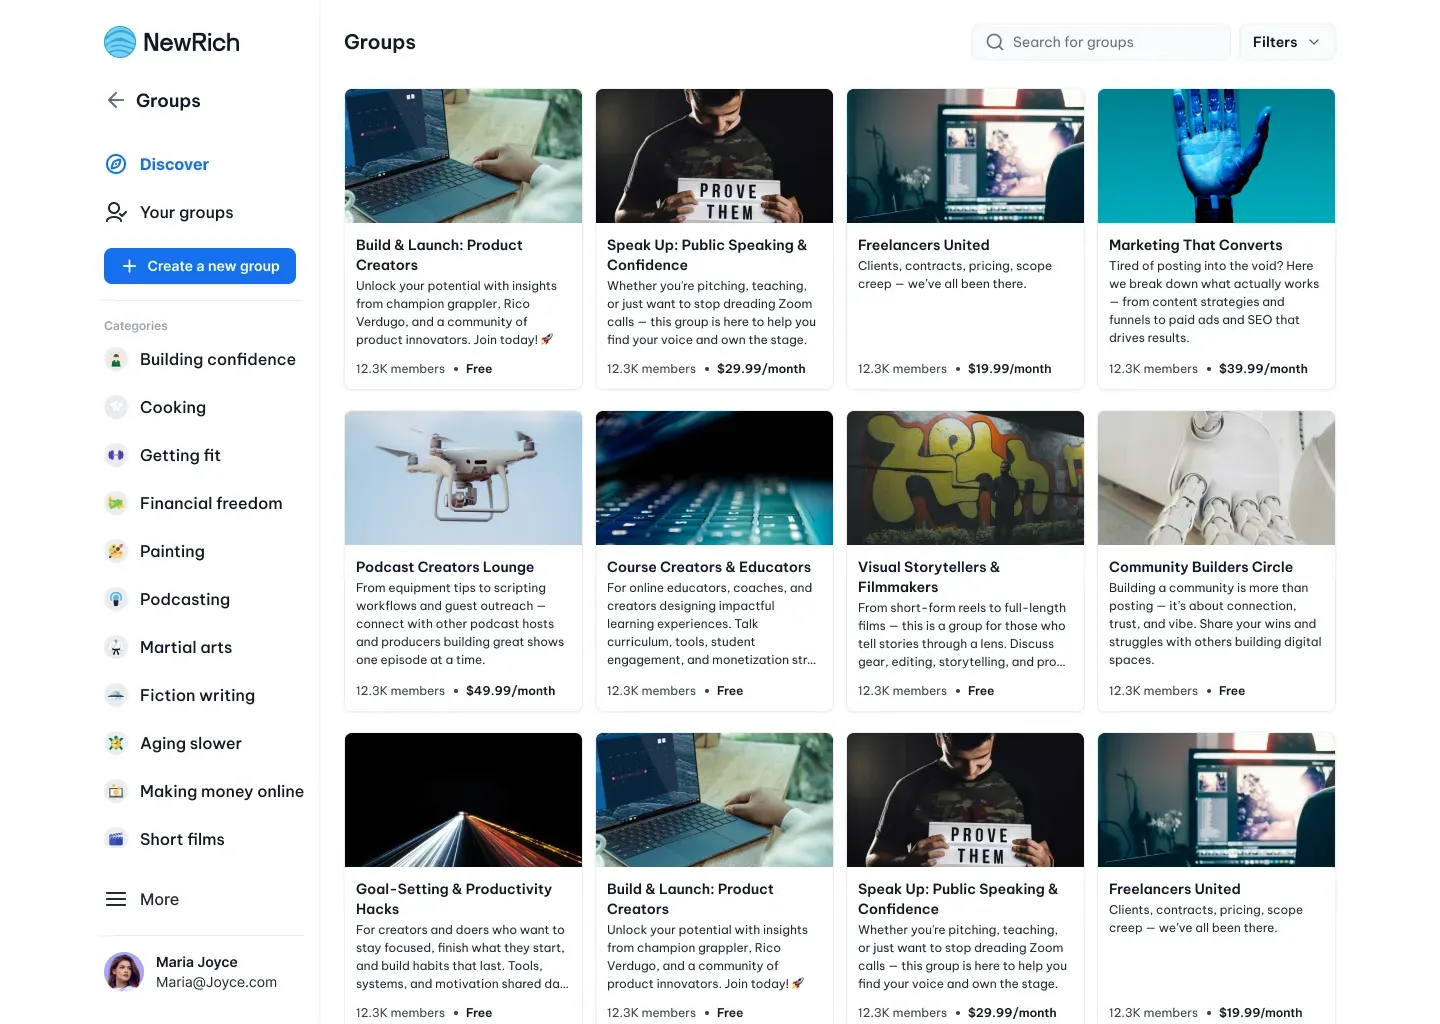
Step 1 — Basic Informations
The first step is where you'll provide the basic information about your group.
This information introduces your community to potential members and helps them understand what your group is about before they join.
Complete the following information:
- Group Name – Enter the name of your group.
- Short Description – Add a brief summary of your group (up to 200 characters).
- Full Description – Describe your community, the type of content you share, and what members can expect (up to 1,200 characters).
- Category – Select the category that best matches your group's topic.
- Cover Image – Upload a primary image that represents your group.
- Gallery (Optional) – Add additional images or videos to showcase your community.
When you've finished, click Next step to continue. If you'd like to finish later, click Save as Unpublished to save your progress.
Step 2 — Pricing
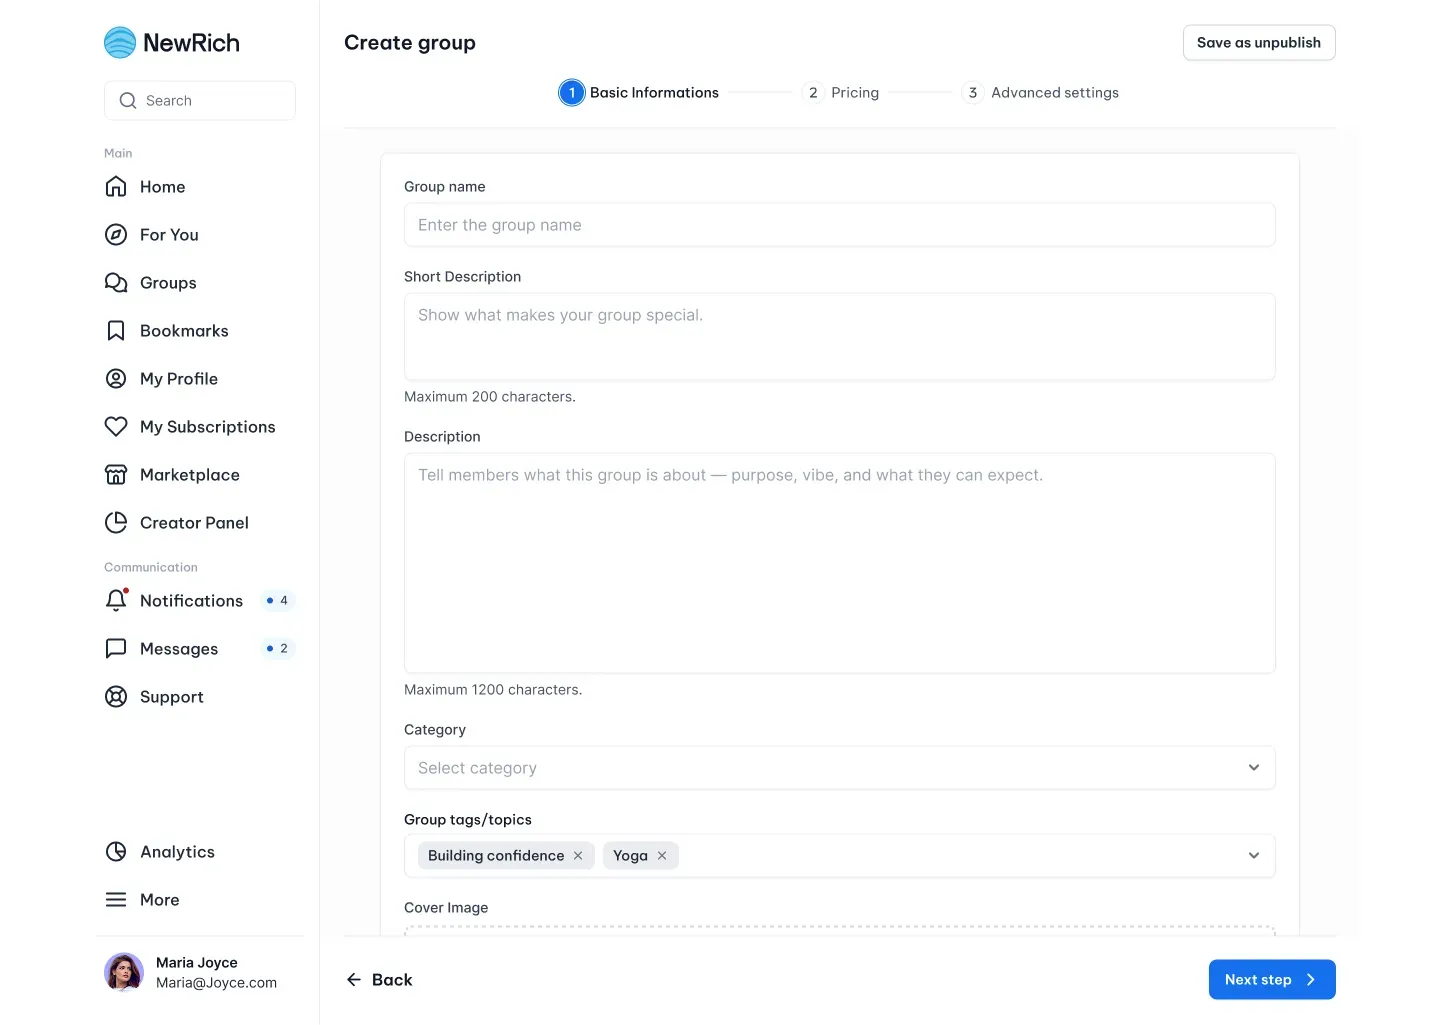
In this step, you'll choose how members can access your group and configure its pricing. NewRich offers three pricing options:
- Free Group - Choose Free Group to allow anyone to join your community without making a payment. No pricing configuration is required.
- One-Time Payment - Choose One-Time Payment to allow members to purchase lifetime access to your group with a single payment. Enter the price for your group. The maximum price you can set depends on your current Creator Rank.
- Recurring Access (Subscription) - Choose Recurring Access to provide access through an active subscription.
Set the subscription price and billing frequency for your group.
Note: The maximum subscription price available depends on your current Creator Rank.
Auto-Discount for Feeds (Optional)
If your group includes paid Subfeeds, you can automatically offer exclusive discounts to your members.
Configure the following settings:
- Discount amount (percentage or fixed value)
- Apply the discount to all paid Subfeeds or only selected Subfeeds
This feature helps reward your members and encourages long-term engagement within your community.
When you've finished configuring the pricing settings, click Next step.
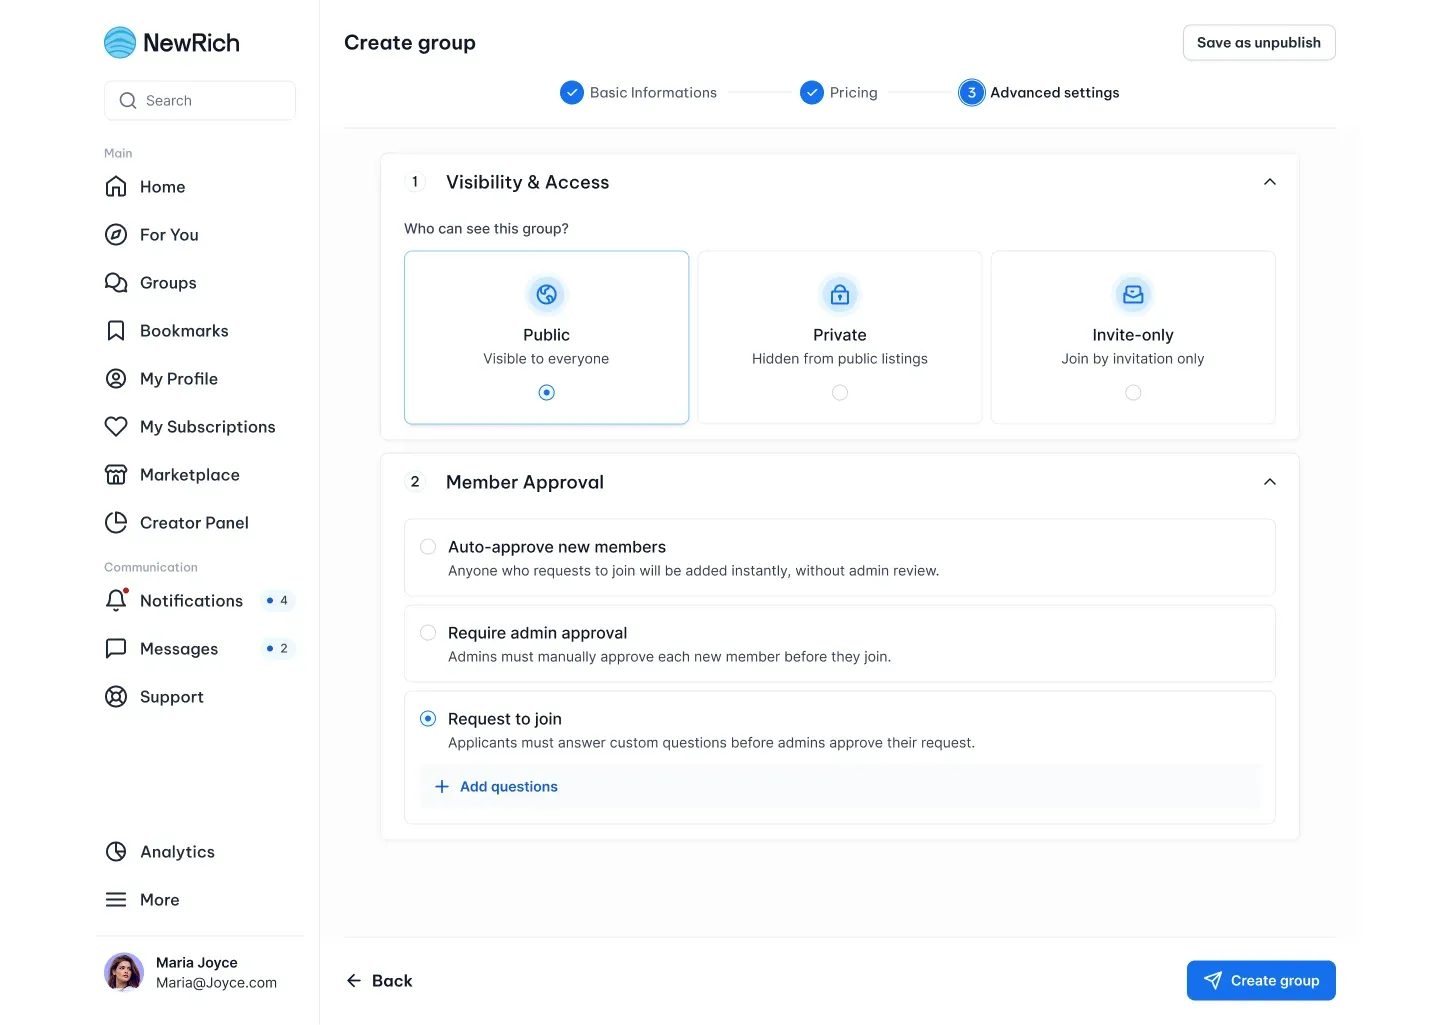
Step 3 - Advanced Settings
The final step lets you control who can discover your group and how new members are admitted. These settings help you manage your community's privacy and membership experience.
1. Visibility & Access
Choose how your group will be visible to other users.
- Public - Anyone can discover your group and view its information. Public groups are ideal for growing your community and making it easy for new members to join.
- Private - Your group is hidden from public browsing, and only approved members can view its content. This option is recommended for communities that share exclusive or members-only content.
- Invite-only - Only users who receive an invitation can join the group. This option is best for private communities with a limited or controlled membership.
2. Member Approval
Choose how new members join your group. The available approval options depend on the pricing model you've selected.
- Paid Groups - For One-Time Payment and Recurring Access groups, members receive access automatically after completing their purchase. No additional approval is required.
- Free Groups - Free groups offer more flexibility, allowing you to decide how membership requests are handled.
Choose one of the following options:
- Auto-approve – Every join request is accepted automatically, allowing members to join immediately.
- Require admin approval – Each request must be reviewed and approved before the user becomes a member.
- Request to join – Applicants answer custom questions that help you decide whether to approve their request.
These options help you balance community growth with the level of privacy and moderation you need.
When you've finished configuring the advanced settings, click Create group.
Completing Your Group
Once you've completed all three steps, click Create group to publish your community.
Your new group will appear under Your Communities, where you can begin inviting members and publishing content.
You can update your group's details, pricing, images, and settings at any time from the group's settings page.